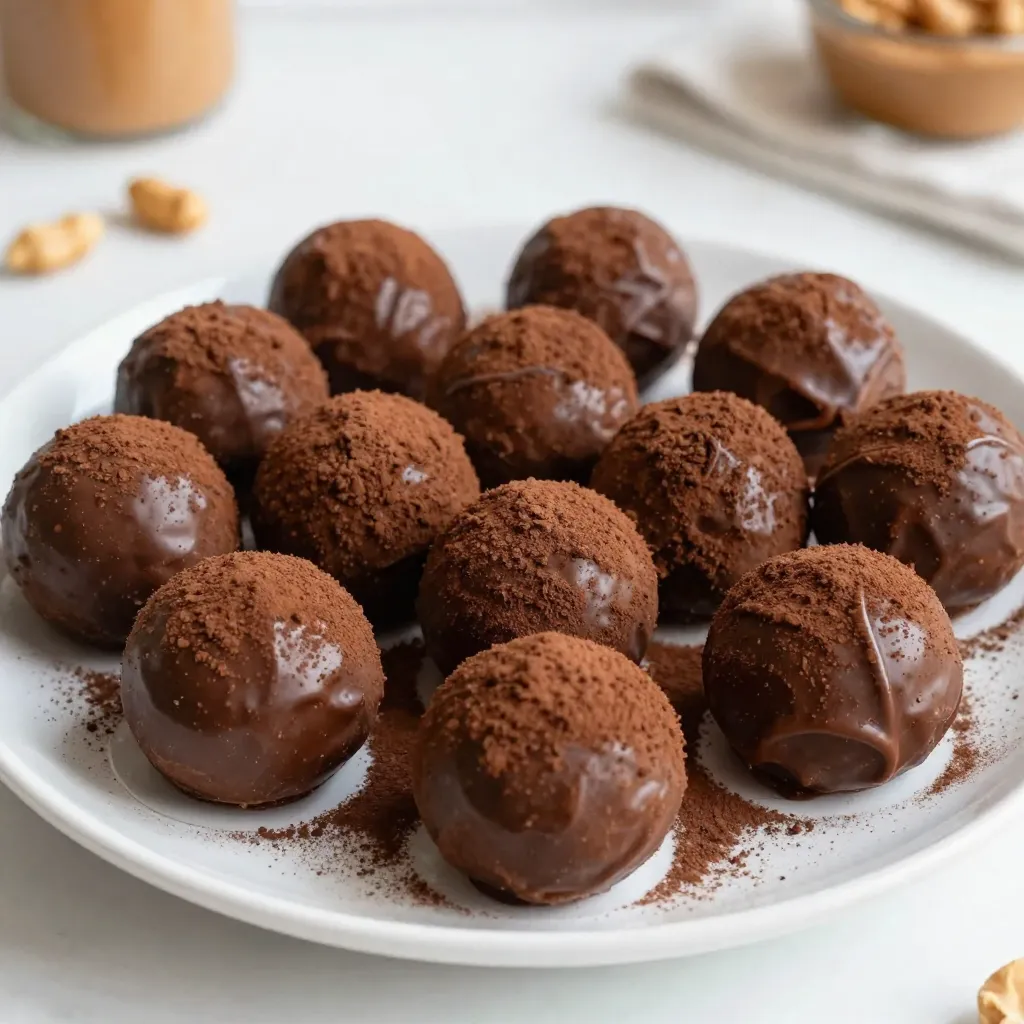
Looking for a quick and tasty snack? These Peanut Butter Chocolate Bliss Balls are not just delicious but also healthy! In this article, I’ll guide you through easy steps to make a treat that satisfies your sweet cravings without the guilt. Packed with good ingredients like oats, flaxseed, and peanut butter, they’re perfect for any time of the day. Let’s whip up this sweet joy together!
Why I Love This Recipe
- Quick and Easy: This recipe takes just 10 minutes to prepare, making it a perfect snack for busy days.
- Healthy Ingredients: Packed with protein from peanut butter and fiber from oats and flaxseed, these bliss balls are a nutritious treat.
- Customizable: Feel free to swap the dark chocolate chips for your favorite mix-ins like dried fruit or nuts.
- Kid-Friendly: These bliss balls are a hit with kids, combining the delicious flavors of peanut butter and chocolate.
Ingredients
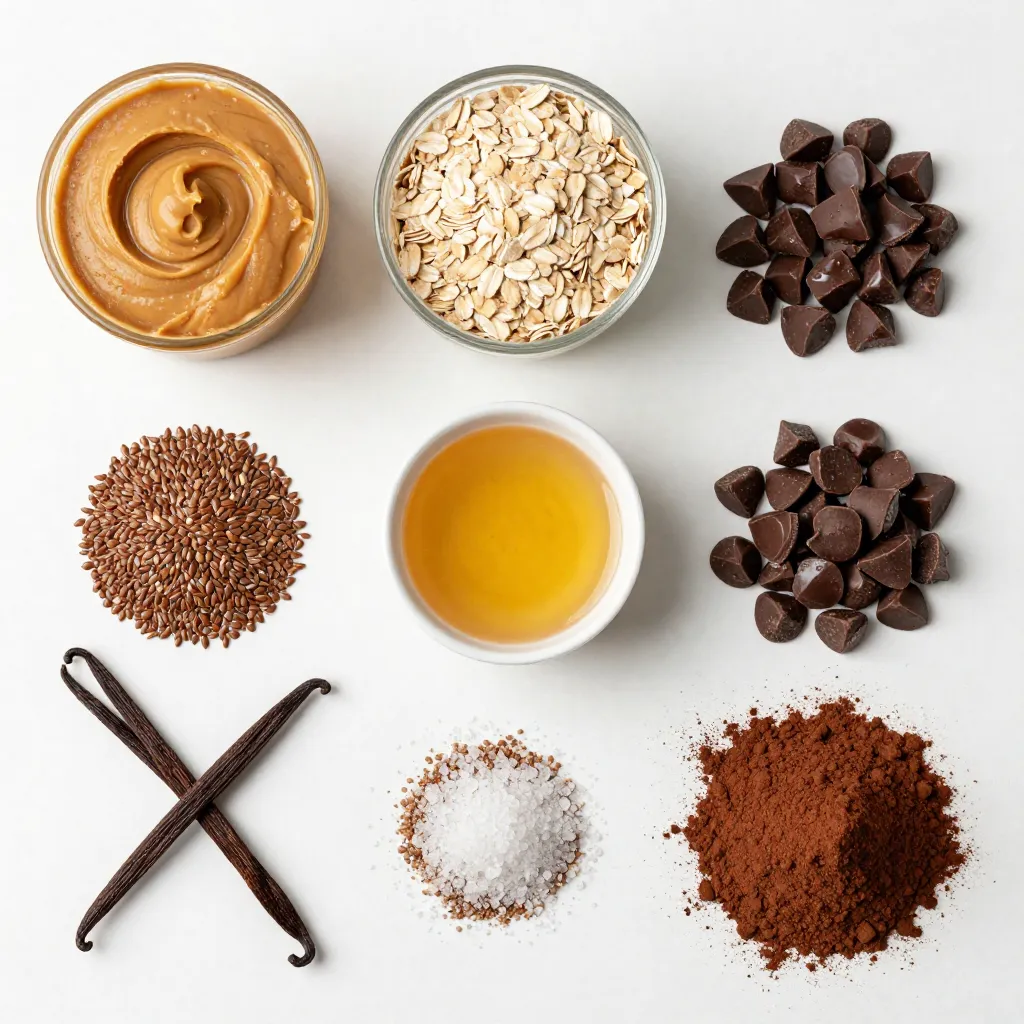
To make Peanut Butter Chocolate Bliss Balls, you will need a few simple ingredients. These items create a tasty snack that is both healthy and fun. Here’s the list of what you’ll need:
– 1 cup natural peanut butter
– 1/2 cup rolled oats
– 1/4 cup honey or maple syrup
– 1/4 cup dark chocolate chips
– 1/4 cup ground flaxseed
– 1 teaspoon vanilla extract
– A pinch of sea salt
– 1/3 cup unsweetened cocoa powder (for rolling)
Each ingredient brings something special to the mix. The peanut butter gives a rich, nutty flavor. Rolled oats add texture and fiber. Honey or maple syrup offers sweetness. Dark chocolate chips bring a touch of indulgence. Ground flaxseed gives a boost of omega-3s and fiber. Vanilla extract enhances the flavor, while sea salt rounds it all out. Finally, cocoa powder adds a lovely finish.
Choosing high-quality ingredients is key. Look for natural peanut butter without added sugars or oils. This will keep your bliss balls healthy and tasty. Organic oats and pure honey or maple syrup are great choices too. You want the best for your snacks.
With these ingredients ready, you’re all set to make a treat that satisfies your sweet tooth and fuels your day!
Step-by-Step Instructions
Preparation Steps
1. First, grab a large mixing bowl.
2. Combine the following ingredients:
– 1 cup natural peanut butter
– 1/2 cup rolled oats
– 1/4 cup honey or maple syrup
– 1/4 cup ground flaxseed
– 1 teaspoon vanilla extract
– A pinch of sea salt
3. Stir all the ingredients until they mix well.
4. Next, fold in 1/4 cup dark chocolate chips.
5. Ensure the chocolate chips spread evenly in the mixture.
6. Now, take small portions of the mixture.
7. Roll them into bite-sized balls, about 1 inch wide.
Rolling & Chilling
1. Take 1/3 cup unsweetened cocoa powder and place it in a shallow bowl.
2. Roll each ball in the cocoa powder until it is fully coated.
3. Transfer the bliss balls to a plate lined with parchment paper.
4. Place them in the refrigerator for at least 30 minutes.
5. This will help the bliss balls firm up before you serve them.
Tips & Tricks
Perfecting the Recipe
Choosing the right peanut butter is key. I recommend using natural peanut butter. It has no added sugar or oils. This makes the bliss balls healthier and tastier. Look for brands with just peanuts and salt. You want that rich, nutty flavor.
Achieving the ideal texture is also important. When mixing, the mixture should be thick but sticky. If it feels too dry, add a touch more honey or peanut butter. If it’s too wet, sprinkle in more oats or flaxseed. The right balance helps your balls hold shape and taste great.
Serving Suggestions
For presentation, serve the bliss balls in a nice bowl. A sprinkle of cocoa powder on top looks great. You can also place them on a slate board. Add a few whole peanuts for a fun touch. This adds color and makes them more inviting.
Pairing with beverages can enhance your snack. These bliss balls go well with almond milk or a hot cup of tea. For a treat, serve with a smoothie. The flavors blend nicely and make a fun snack time.
Pro Tips
- Use Natural Peanut Butter: Opt for natural peanut butter without added sugars or hydrogenated oils for a healthier treat.
- Experiment with Sweeteners: Feel free to substitute honey with maple syrup for a vegan option or customize the sweetness to your liking.
- Chill for Better Texture: Allow the bliss balls to chill in the fridge to enhance their firmness and make them easier to handle.
- Customize Your Coating: Try rolling the bliss balls in shredded coconut, crushed nuts, or sprinkles for a fun twist on presentation.
Variations
Flavor Alternatives
You can switch things up easily in this recipe. Try using almond butter instead of peanut butter. Almond butter gives a nutty flavor. It also adds healthy fats and protein. You can also add some fun extras. Shredded coconut adds a tropical twist. Dried fruit like cranberries or apricots makes it sweeter. Both choices make the bliss balls even more delightful.
Dietary Modifications
If you need a vegan version, swap honey for maple syrup. This keeps it plant-based and still sweet. For gluten-free options, use certified gluten-free oats. This way, everyone can enjoy these treats without worry. These small changes let you adapt the bliss balls to your diet and taste.
Storage Info
Best Storage Practices
To keep your Peanut Butter Chocolate Bliss Balls fresh, store them in the refrigerator. Use an airtight container to prevent moisture. This helps the flavors stay strong and keeps them safe to eat. If you want to save them for later, freezing is a great option. Place them in a freezer bag and remove as much air as you can. Label the bag with the date. This method helps them last longer while keeping their taste.
Shelf Life
In the fridge, your bliss balls can last up to one week. Just remember to check them each time you grab one. If they look dry or feel sticky, it’s time to toss them. If you freeze them, they can stay fresh for about three months. Always look for signs of spoilage. If there’s a strange smell or mold, don’t eat them. Keeping an eye on these factors ensures you enjoy your snacks at their best!
FAQs
Common Questions
Can I use crunchy peanut butter?
Yes, you can use crunchy peanut butter. It adds texture and a nice bite. Just make sure it is natural. This keeps the flavors fresh and clean.
How do I make them less sweet?
To reduce sweetness, use less honey or maple syrup. You can also add more oats or flaxseed. This will balance the flavors while keeping the bliss balls tasty.
Are these bliss balls healthy?
Yes, these bliss balls are healthy. They have protein from peanut butter and fiber from oats. They also contain healthy fats from flaxseed. These ingredients make them a great snack!
Tips from Other Users
Suggestions for customization
Many users love to add nuts or seeds. You can also swap dark chocolate chips for dried fruit. This adds new flavors and textures to your bliss balls.
Best practices for rolling and coating
Make sure your hands are slightly damp when rolling. This helps prevent sticking. For coating, use unsweetened cocoa powder or shredded coconut. Both add a nice finish to your bliss balls.
You learned how to make tasty bliss balls with simple ingredients. From choosing the right peanut butter to rolling them in cocoa powder, the steps are easy. You can also switch up flavors and customize for diets. Store your treats in the fridge or freezer for longer enjoyment. Try these fun tips to make them your own. Enjoy making and sharing these healthy snacks! They’re simple, fun, and full of flavo